Sunday, April 24, 2011

The best darn lasagna!


Lasagna
My mom's been making this recipe for as long as I can remember and it's always been a favorite of mine.  It might look like a lot of steps but once you get the hang of it it's extremely simple!


Have ready:
-       preheat oven to 375°

-       1 jar tomato sauce (you’ll only use about ¾ of it)(for an extra kick use a sauce with some spice to it)
-       1 jar Alfredo sauce (you’ll only use about ¾ of it)(for those of us who are allergic to soy, read the label carefully! Most alfredo sauces use soybean oil.  But Trader Joe's brand doesn't!)
-       12 lasagne noodles, ½-cooked, drained, rinsed in cold water
-       1 package of sliced mushrooms (white button mushrooms, cremini, etc.)
-       Filling: 2 cups ricotta plus 2 beaten eggs, salt & pepper, ½ lb. raw chopped spinach
-       1 lb. sliced mozzarella cheese
-       ½ cup grated parmesan or romano cheese
-       a 9 x 13 inch pan

Proceedings :
-       spread a little tomato sauce over the bottom of the pan
-       cover with a layer of noodles (4 noodles)
-       spread ½ the filling over the noodles
-       spread a generous layer of sauce (either tomato or Alfredo)
-       ½ the mozzarella hither and thither
-       another layer of noodles
-       remaining filling
-       spread the all the mushrooms over the filling
-       another layer of sauce (whichever type you didn’t use in the last layer)
-       remaining mozzarella
-       the rest of the noodles
-       ultimate dosage of sauce (I like to use a little of both sauces)
-       generous amounts of parmesan or romano
-       bake for 45 minutes
-       let stand for 10 minutes before serving

Sunday, March 27, 2011

a week in New York City

Anna's birthday brunch at Belcourt on 2nd ave. in the East Village

Belcourt's amazing leek and gruyere frittata 
Belcourt on 2nd ave and 4th st.
The Upper Rust on 9th st. is the most adorable little shop!
The Upper Rust

cupcakes at Magnolia Bakery


my red velvet cupcake from Magnolia Bakery

The Empire State Building


SoHo

The Bean - a great cafe on 1st ave in the east village

Saturday, March 12, 2011

Vivez la langue - Paris

This video is guaranteed to make you smile (and teach you a bit of French)
Amusez-vous bien !


Tuesday, March 8, 2011

Broccoli-Cheese Soup

This creamy soup is stalked with vegetables and cheesy deliciousness!


What you'll need:

  • 3 tablespoons unsalted butter
  • 1 carrot, finely chopped
  • 1/2 cup finely chopped onion
  • 1/2 red bell pepper, seeded, de-ribbed, and finely chopped
  • 2 cloves garlic, minced
  • 2 tablespoons all-purpose flour
  • 2 cups vegetable stock
  • 1 1/2 cups small broccoli florets
  • 1 small russet potato (about 6 ounces), peeled and cut into 1/2-inch cubes (about 1 cup)
  • 1/4 teaspoon celery seed
  • 2 cups milk
  • 2 cups (8 ounces) coarsely shredded sharp Cheddar cheese
  • 1/4 teaspoon dry mustard
  • salt and pepper to taste
What to do:
  1. Melt the butter in a Dutch oven over medium heat.  Add the carrot, onion, bell pepper, and garlic; cook, stirring occasionally, until the vegetables are tender, about 10 minutes.  Add the flour; stir constantly over low heat for about 2 minutes.  Gradually add the vegetable stock, whisking until the mixture is smooth.
  2. Add the broccoli, potato, and celery seed.  increase the heat to high and bring to a boil.  Reduce the heat; cover and simmer, stirring occasionally, until the vegetables are tender, about 10 minutes.
  3. Stir in the milk.  When the soup is warm, add the cheese, stirring gently (careful not to break the broccoli florets) until melted.  Stir in the mustard and season to taste
*makes 5 cups (4-6 servings)

Saturday, February 26, 2011

Dammit Dolls

 I made a bunch of these little dolls for my girlfriends this holiday season.  They’re great stress relievers! (mine’s been thrown at a wall or two)

What you’ll need:
-       Fabric (how much you need depends on how big you make the dolls.  I used about 1/3 yard (maybe a bit less) for each doll, which was 4” x 7”).
-       Stuffing (I used fiberfill but cotton or anything else works too)
-       Sewing machine (optional, but will make your life easier)
-       Needle
-       Thread to match your fabric
-       Buttons (for the eyes)
-       Red embroidery floss (for the mouth)
-       Heart charm (optional)

What to do:
1.     Start by drawing yourself a pattern on paper.  You can draw it anyway you want; just make sure it’s not too big.
2.     Place your pattern on top of your fabric (fold the fabric in two so that you’re cutting out two identical pieces).
3.     Cut out your doll, leaving about ½” all the way around the pattern.
4.     On the machine, sew the two halves of your doll together (inside out), leaving one side of it open (it’s easiest to leave the arm-pit to thigh area on one side open) to put in the stuffing.
5.     While the doll is still inside out, sew on the eyes, heart, and mouth.
6.     Turn your doll right side out.
7.     Stuff your doll (use a knitting needle, chopstick, etc. to push the stuffing into the arms, legs, and head)
8.     Sew the open side shut with a needle and thread
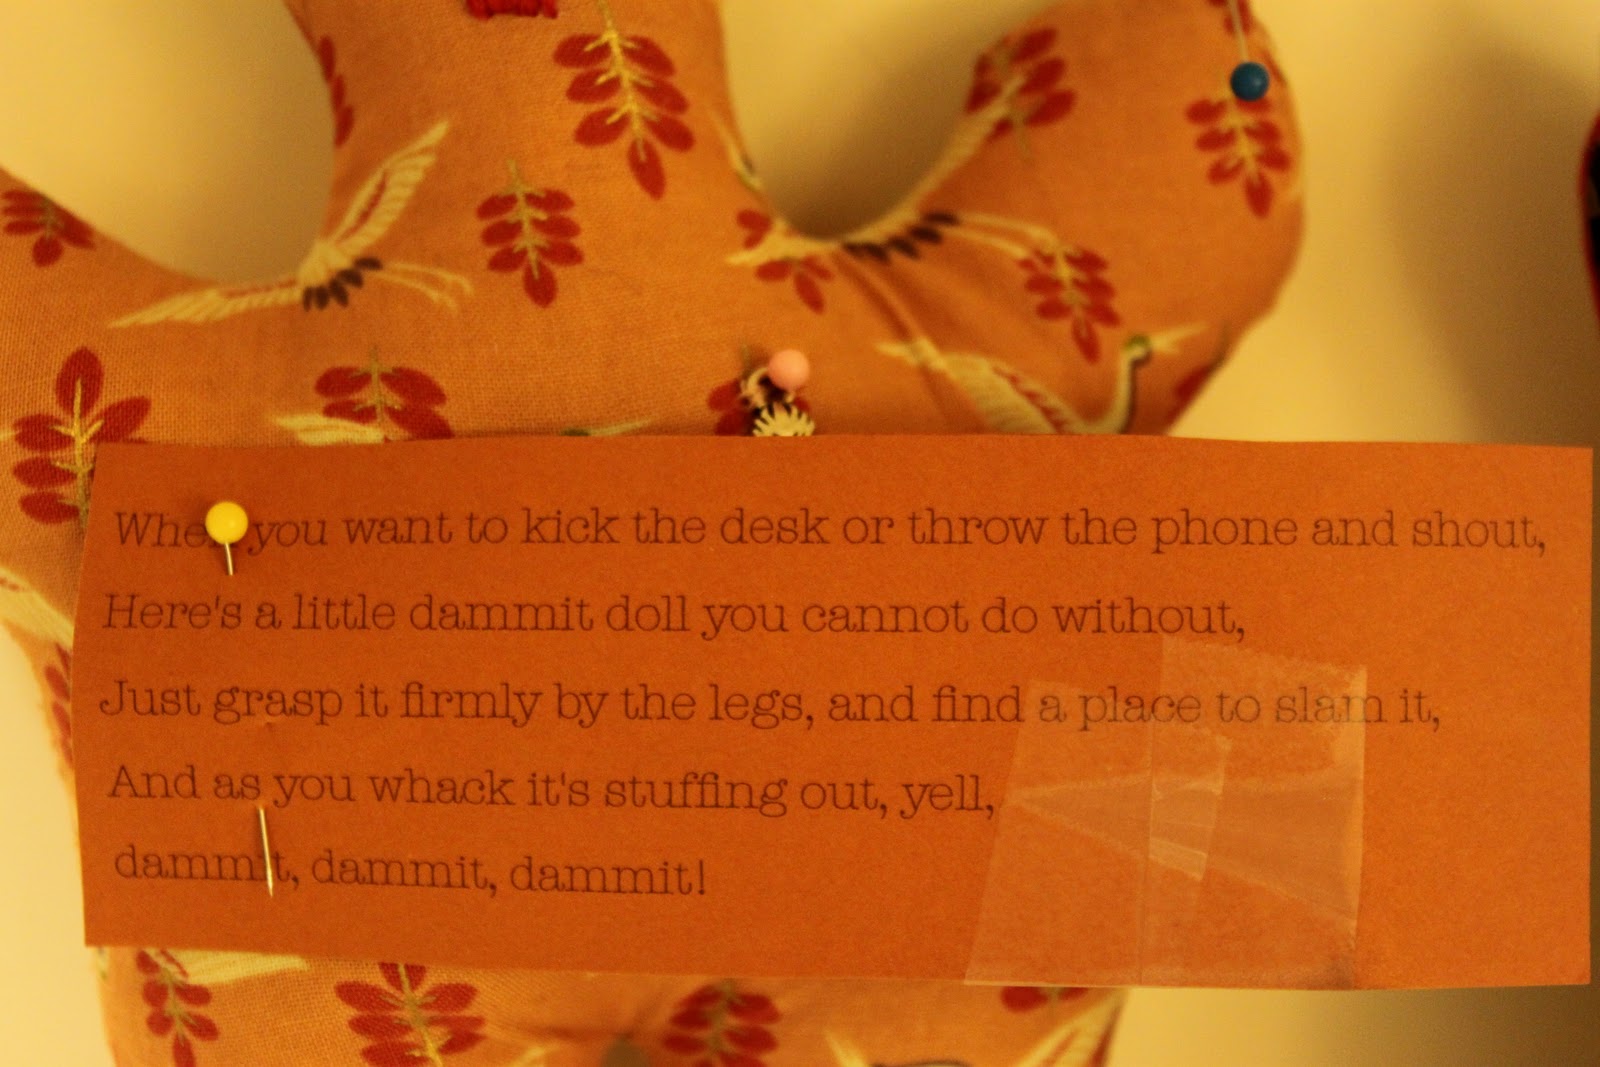
9.     OPTIONAL: I made little cards with poems to go along with each doll.  I also attached a handful of pushpins.
*The poem reads: when you want to kick the desk or throw a phone and shout, here’s a little dammit doll you cannot do without, just grasp it firmly by the legs, and find a place to slam it, and as you whack it’s stuffing out, yell, dammit, dammit, dammit!


Sunday, February 20, 2011

Best Buttermilk Pancakes


What you’ll need :
-       2 cups sifted flour
-       1 teaspoon salt
-       1 ¼ teaspoons soda
-       ¾ teaspoons baking powder
-       2 eggs, unbeaten
-       2 cups fresh buttermilk
-       ¼ cup melted butter


Sift dry ingredients together.  Add remaining ingredients and stir lightly to just moisten dry ingredients.  Mixture will be thick and lumpy.  Drop by spoonfuls into lightly greased griddle, spreading batter with spoon.  Turn cakes as soon as browned and cook Under side until browned.  Makes five to six servings.

Saturday, February 19, 2011

Tea Towel Apron


What you’ll need:

- One large tea towel (mine was 29” x 21”)

- About 2 yards of twill tape (I used 1” wide twill tape but you can use any width and even bias tape in a pinch)

- Sewing machine (you can sew it by hand but a machine is a bit easier)

1. First you’ll need to pleat the top of your tea towel. I made 2 ½” pleats on either side. Secure pleats with pins.

2. Tack the pleats approx. 7 inches down with a pin (depending on where your waist is). I secured the pleats at a bit of an angle (look at the photos to see what I mean by this).

3. On the machine, secure top folds with a stitch (I did a decorative stitch all the way across the top so it looks a bit more attractive).

4. Secure the lower tacks with a couple stitches (if the thread matches the fabric well enough you’ll barely see them).

5. Next you’ll need to cut the twill tape. Measure how much you need for the neck and waist-ties (I used roughly 25” for the neck and two 25” pieces for the waist). To attach the loop at the top sew each end near the corners. To attach the waist-ties sew them along the seam of the towel (I used a zig-zag stitch to make sure they were extra secure). *Tip: to make all the ties look cleaner, fold each end under before sewing it down.

And that’s it! Your stylish new apron is ready to wear

.